With Additional Tricks & Tips
PC or Laptop
Brand, Model, Serial Number, Date, and Store purchased
Additional PC Specs/Parts like:
Graphics Cards, PCIe cards others, etc. Models and Serial Numbers
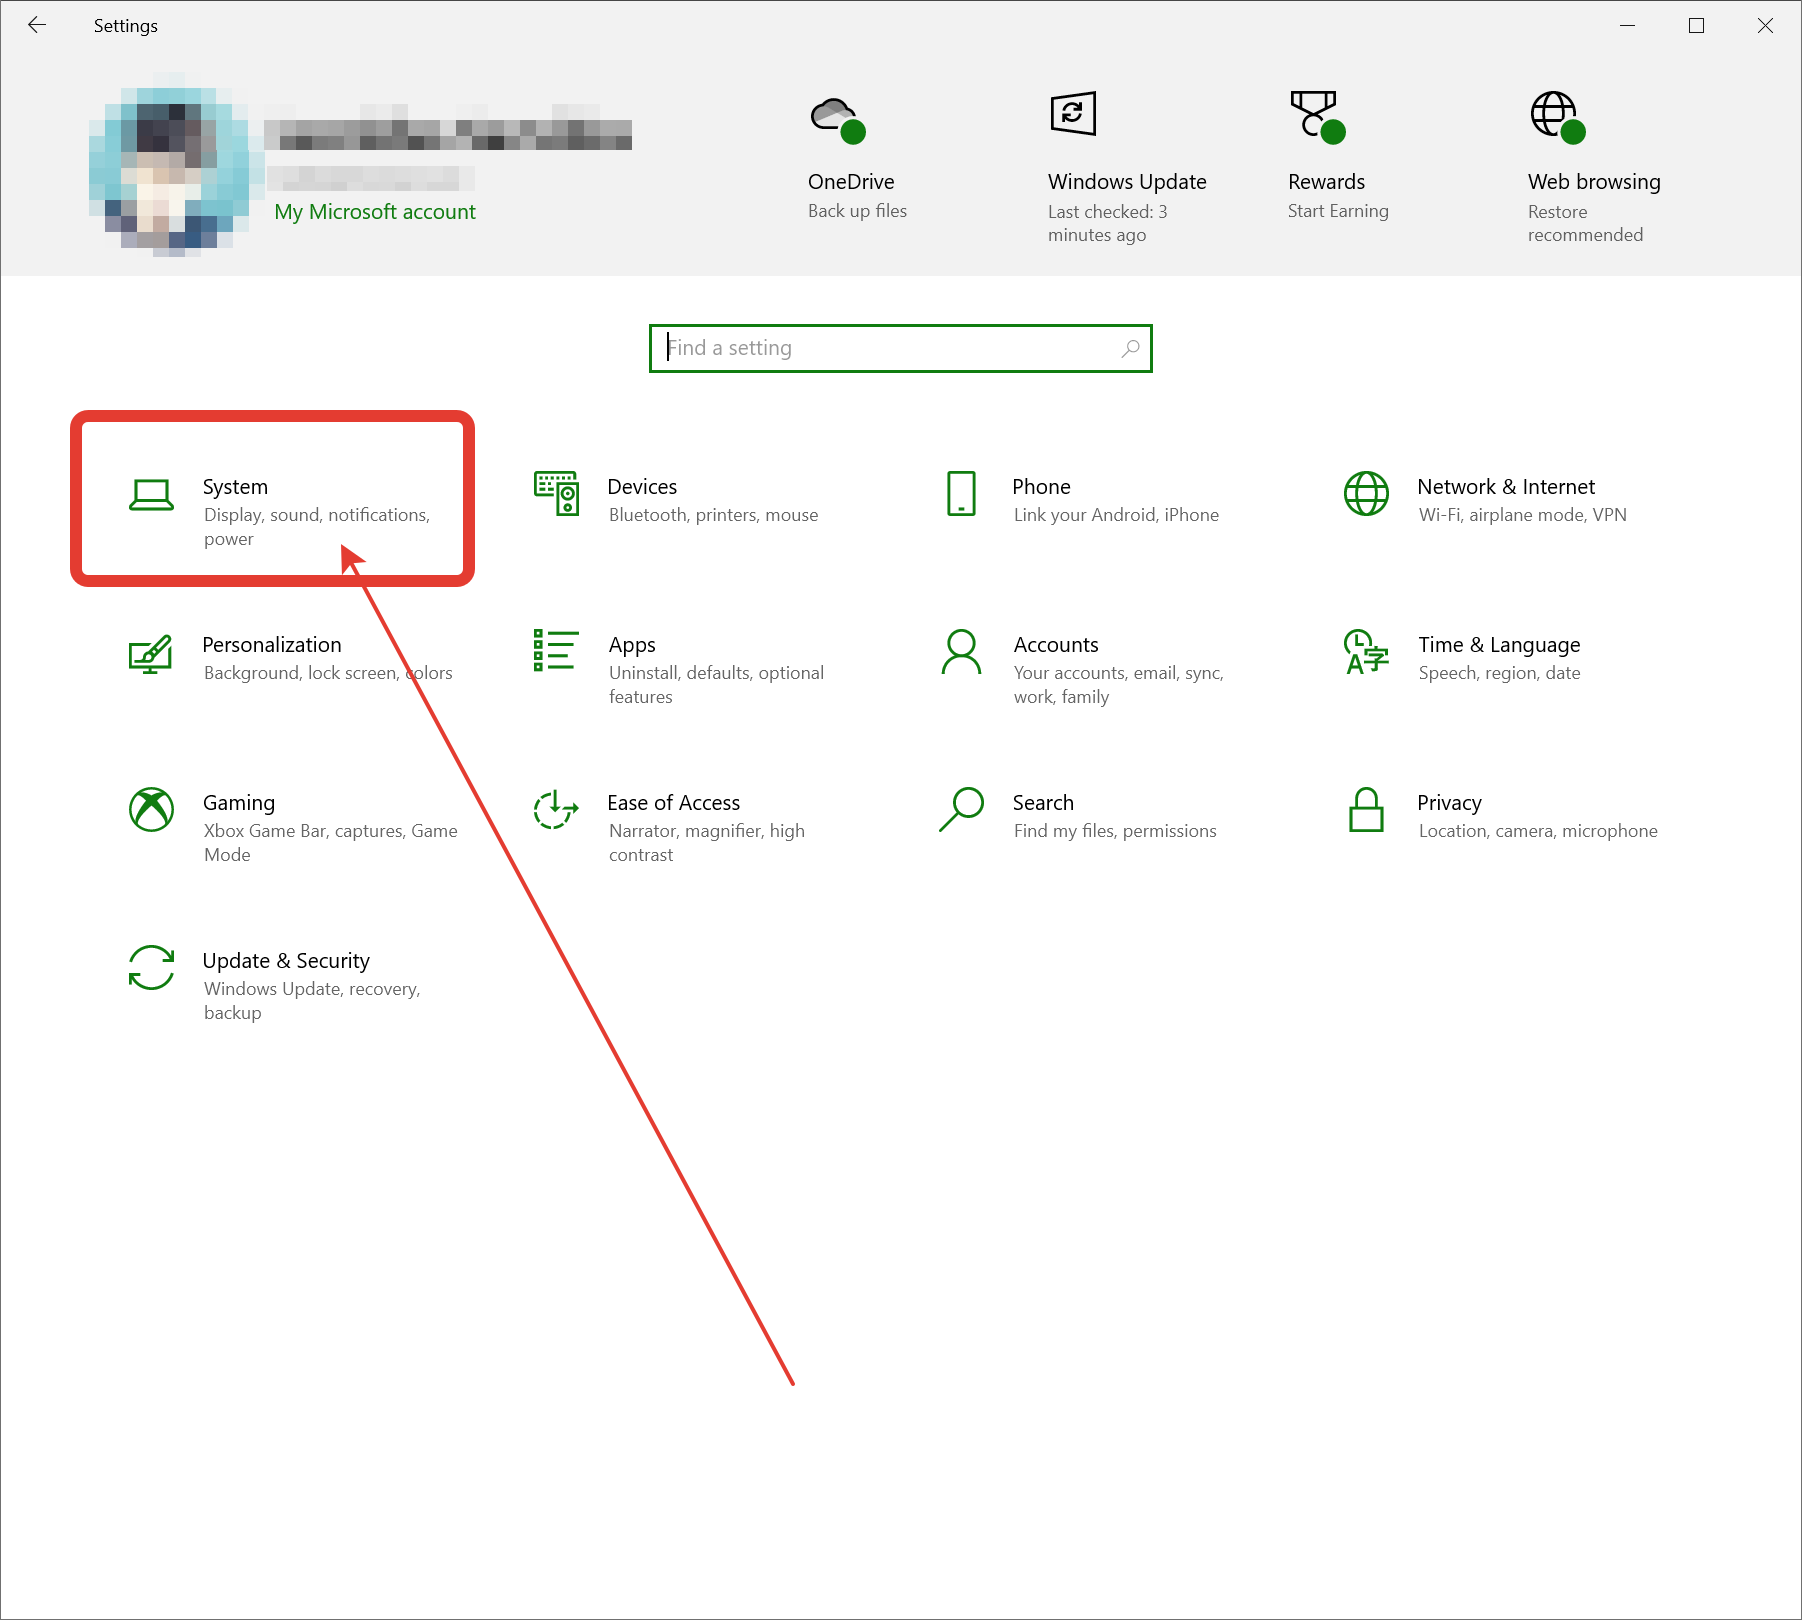
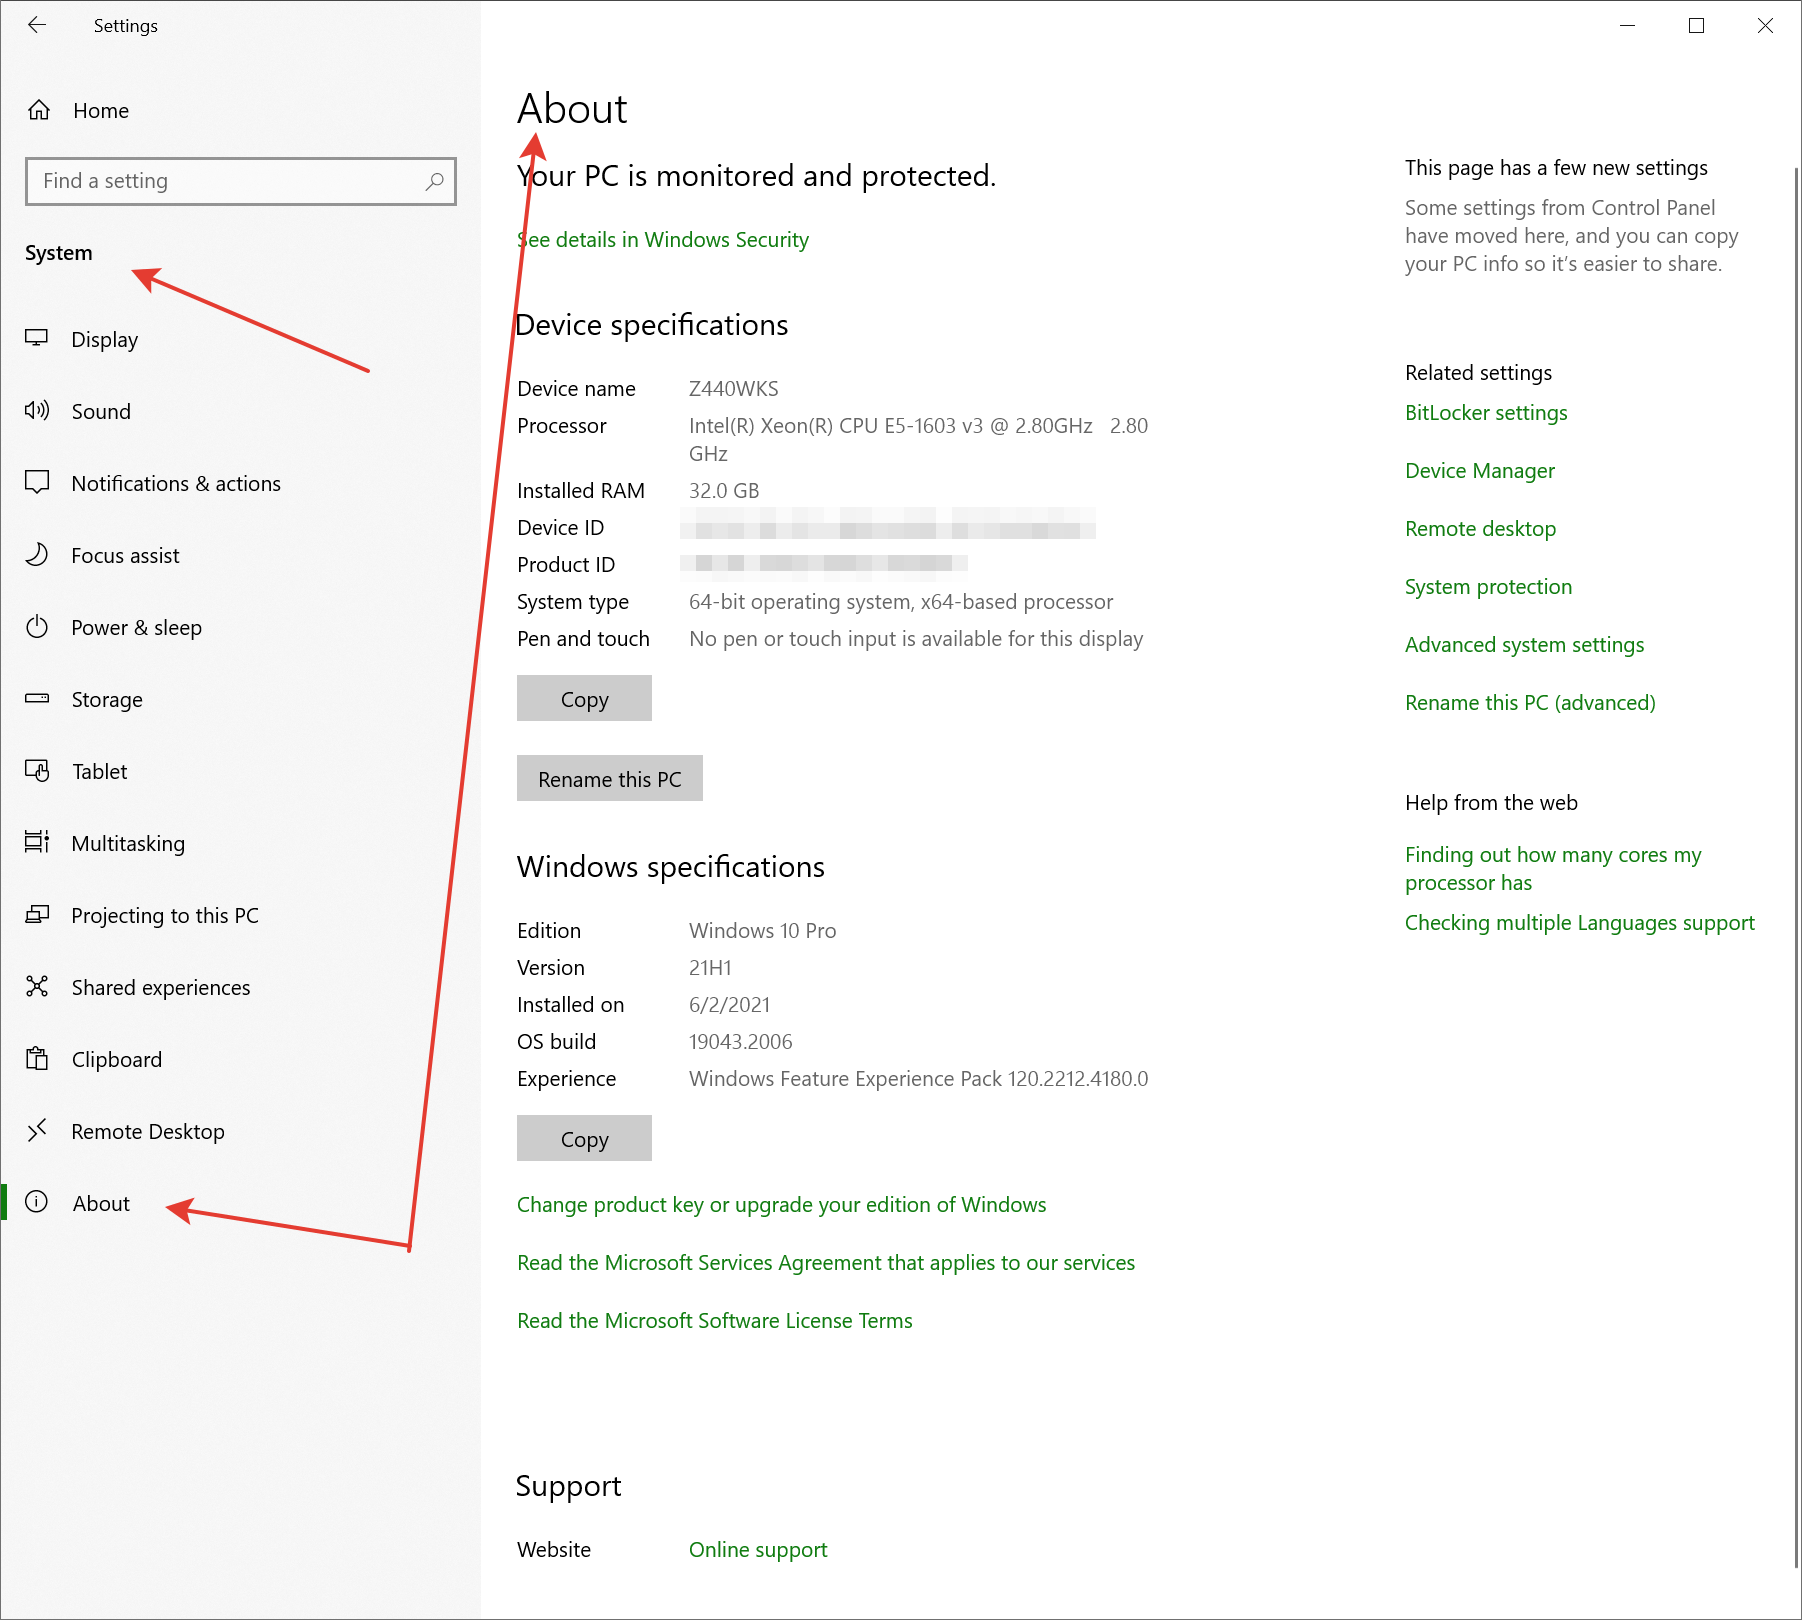
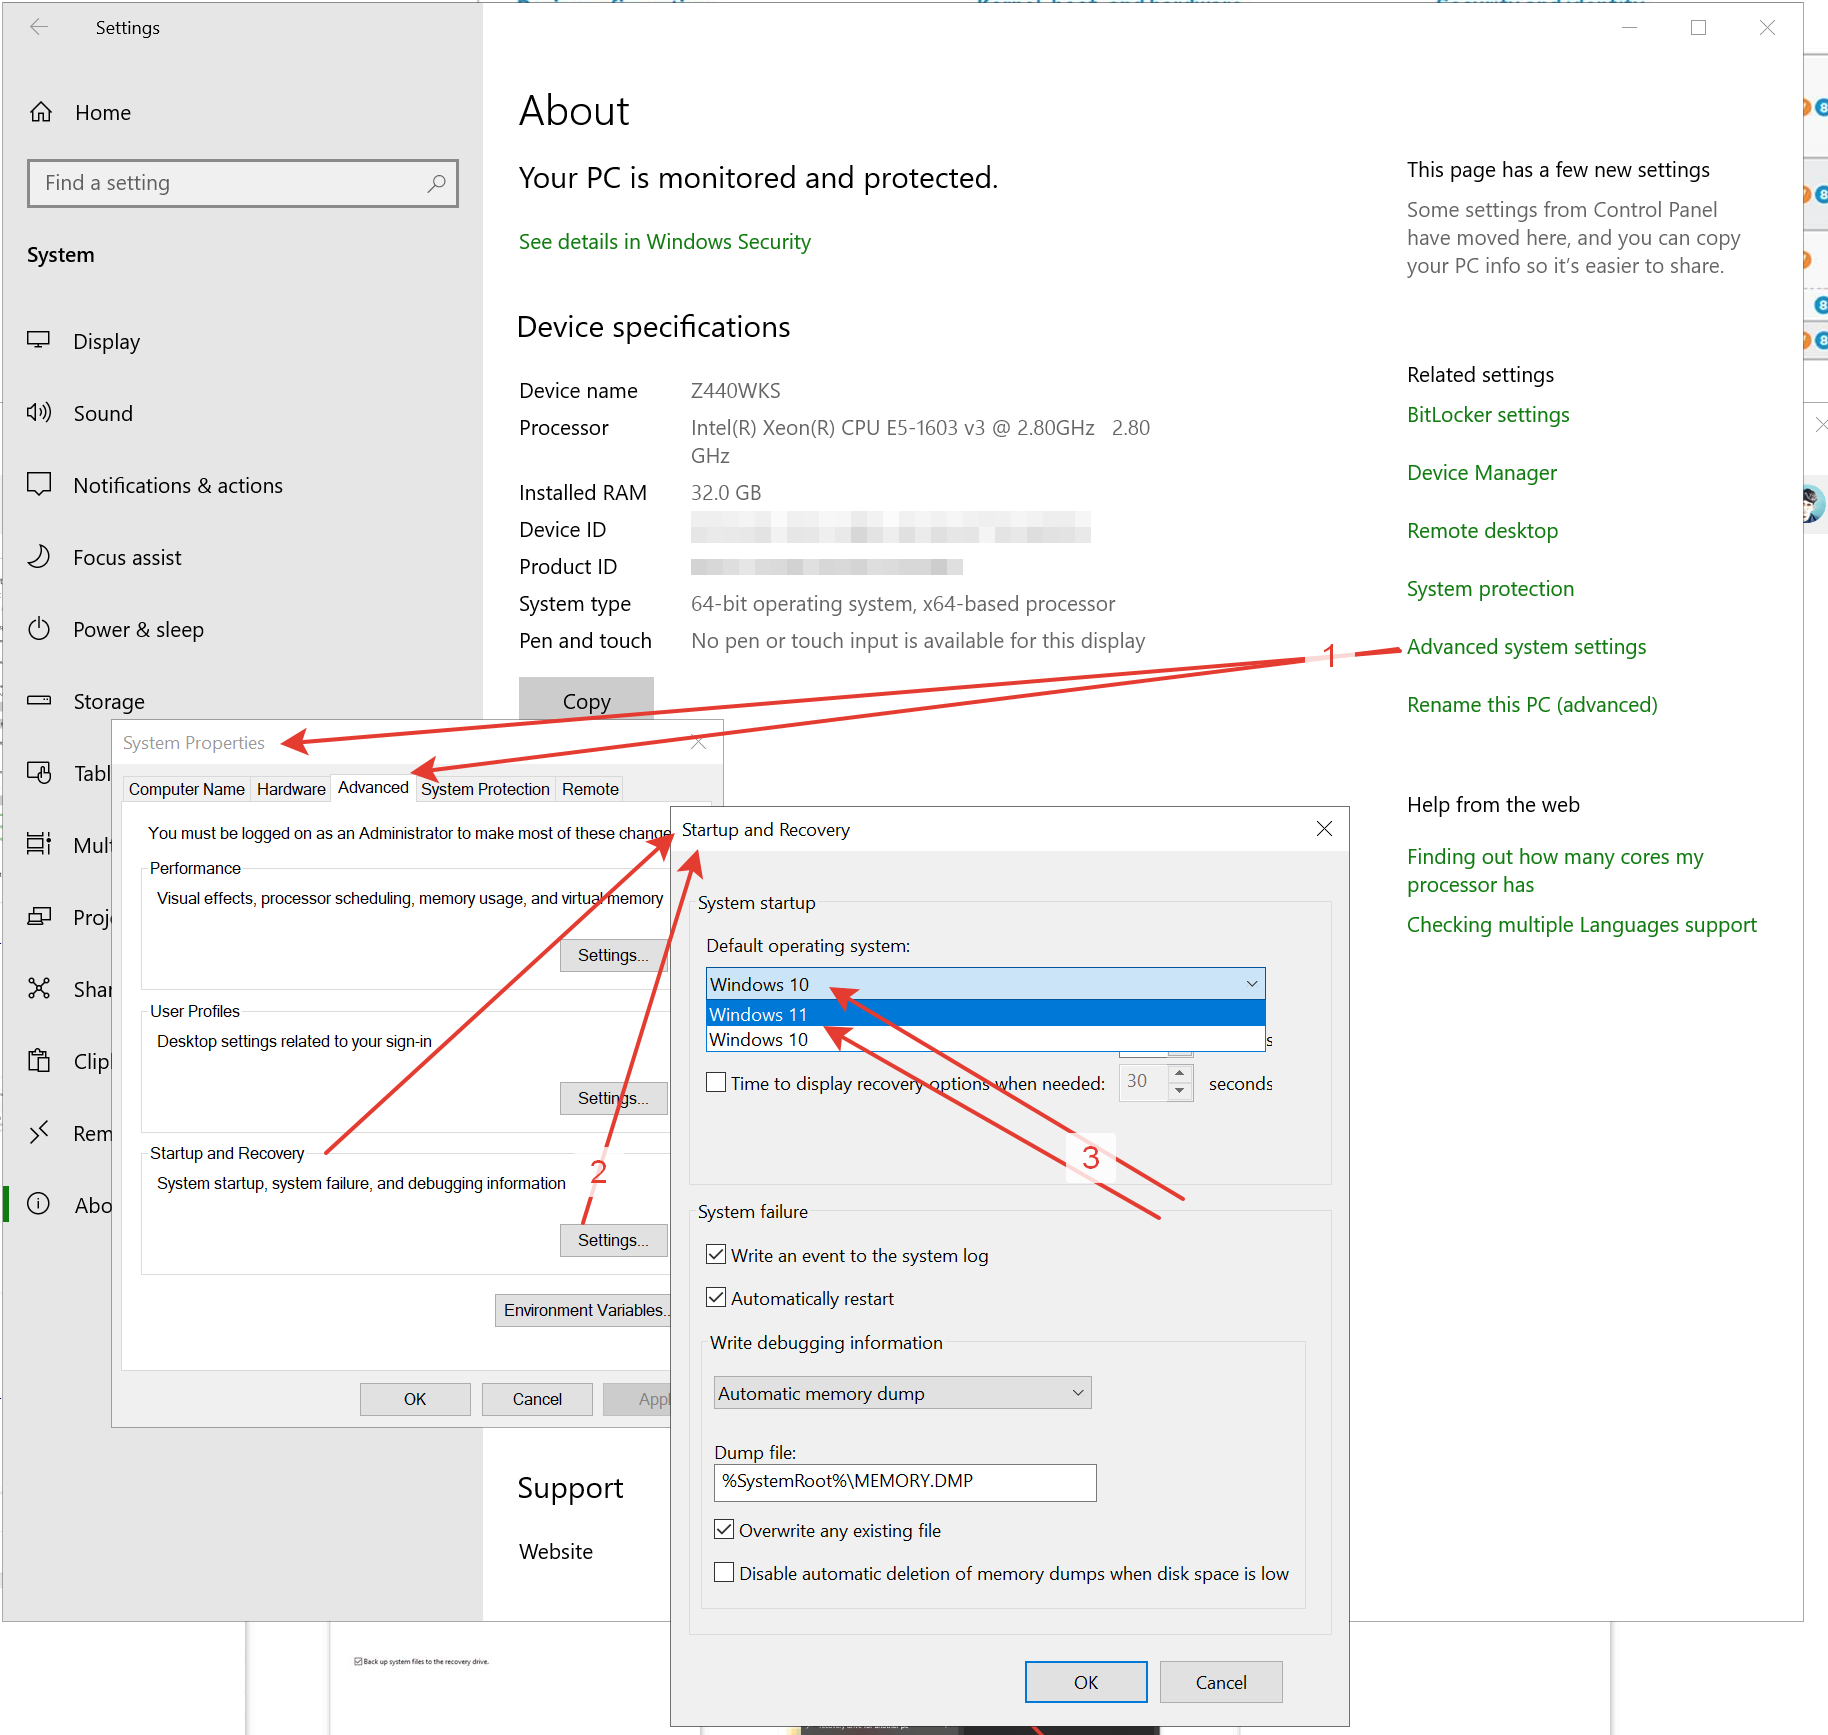
Windows 10 or 11 > Settings > System > About
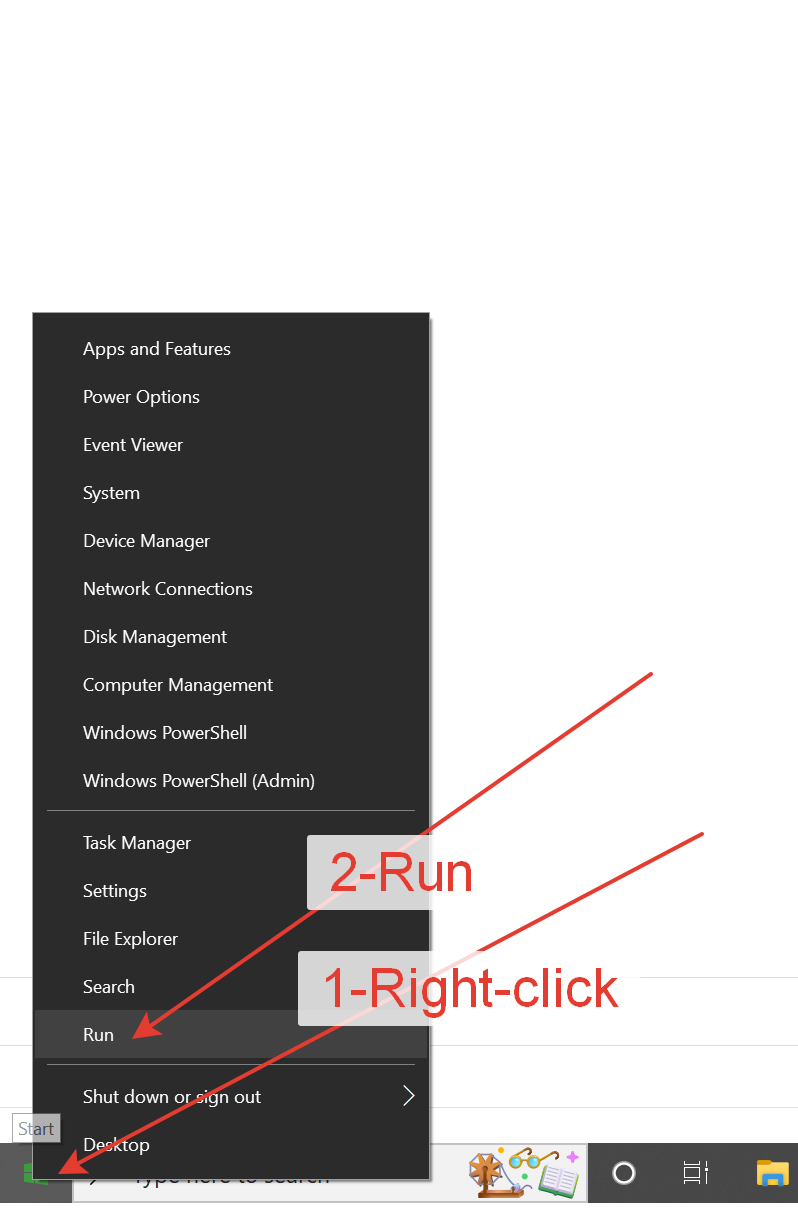
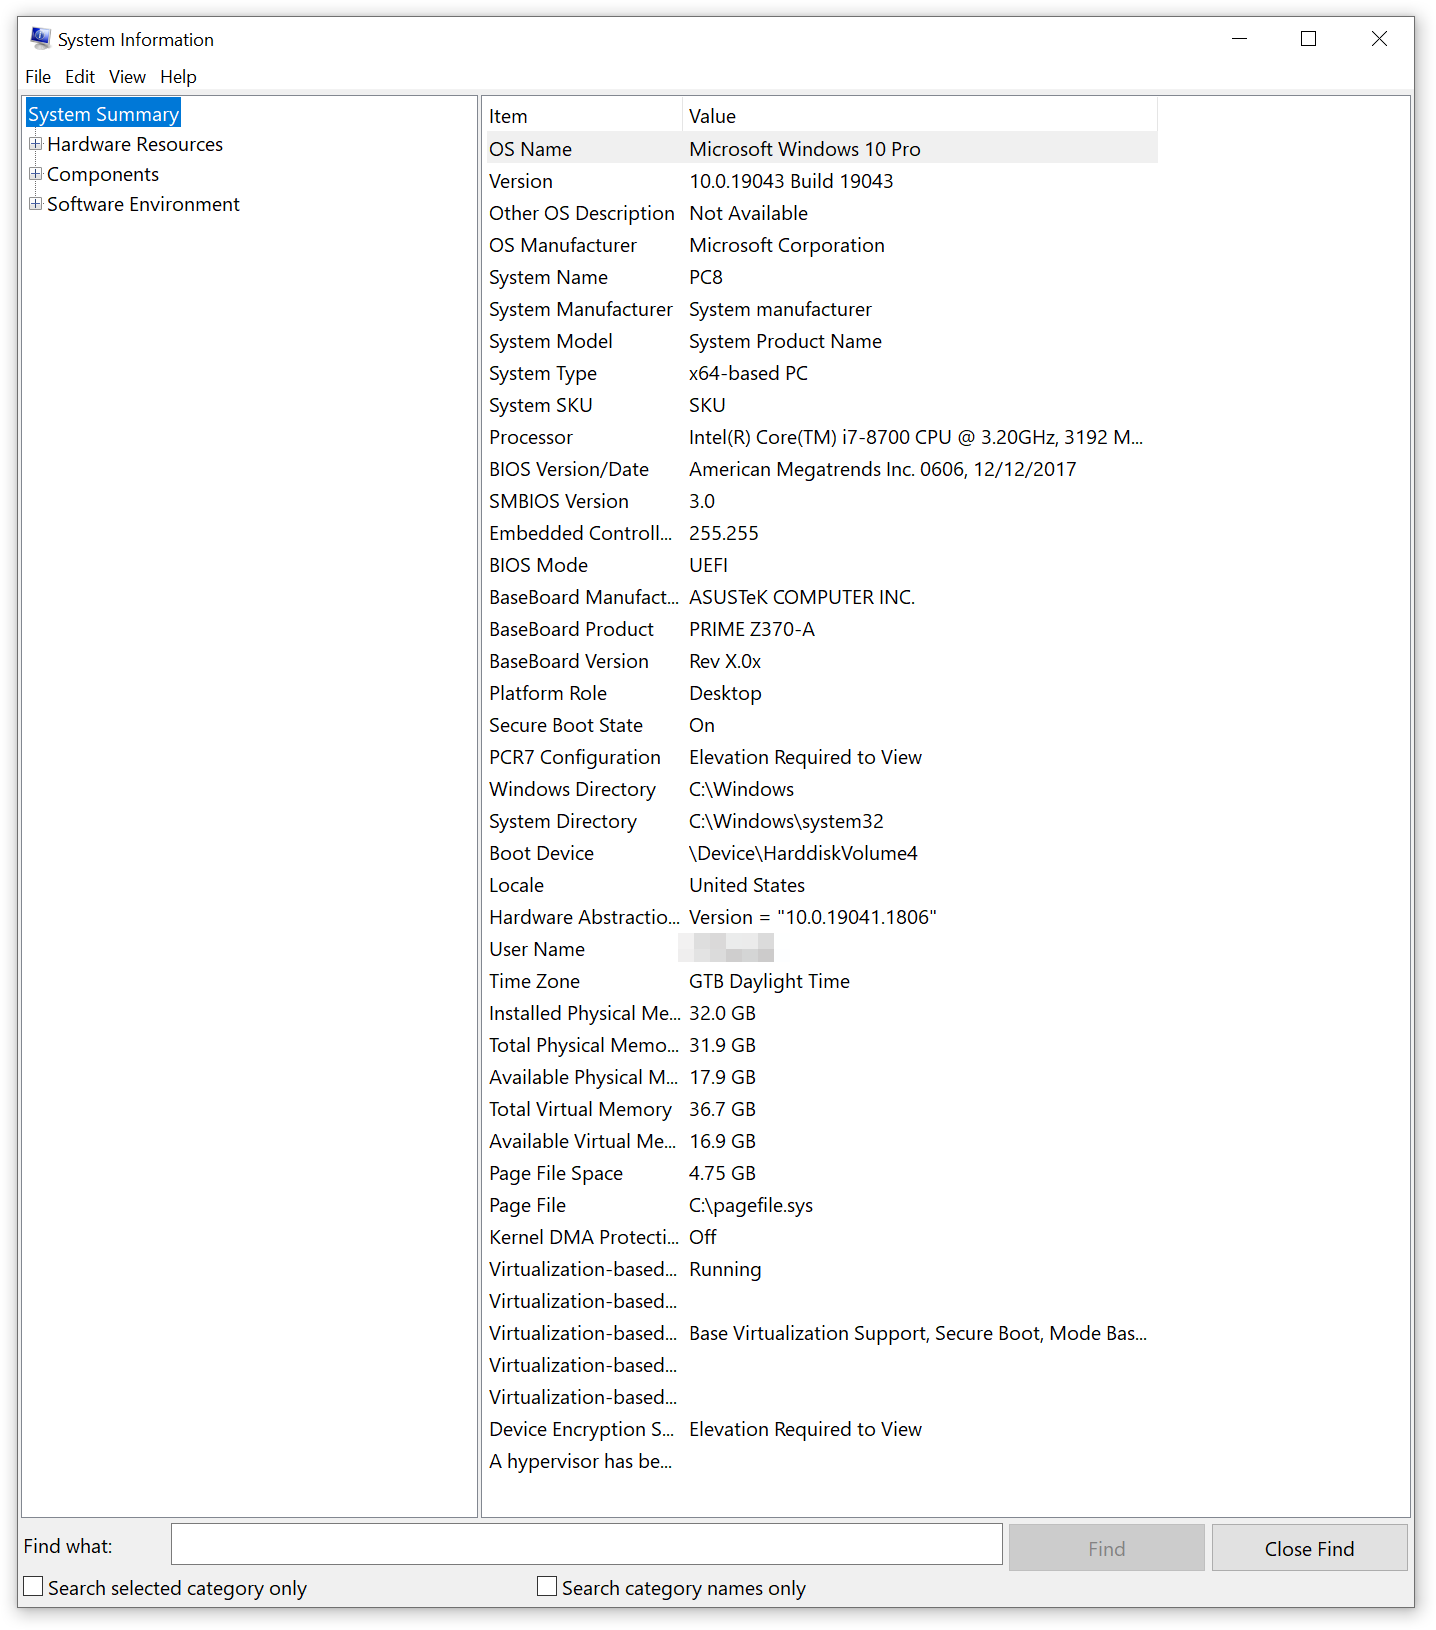
Run: Msinfo32
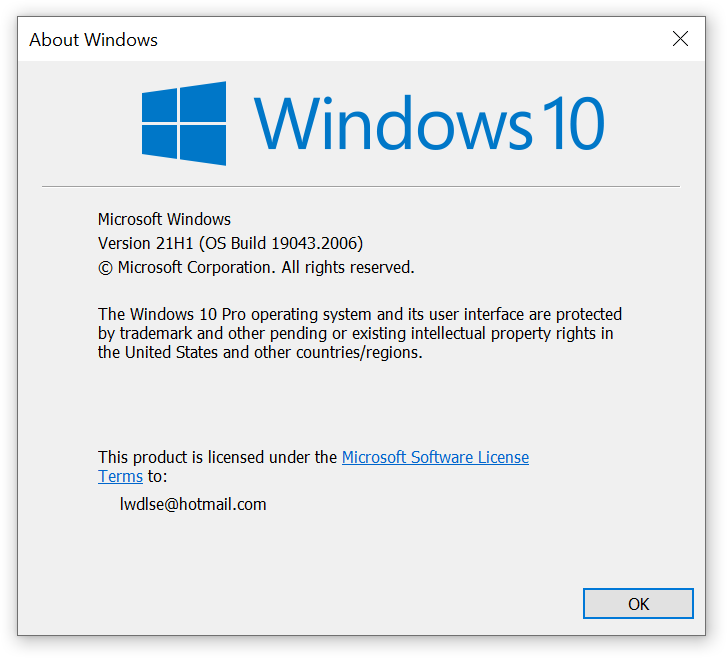
Run: winver
Setup in a Dual Boot PC, Default Boot OS
Run: SystemPropertiesAdvanced > Startup & Recovery: Settings > Default OS
or
Windows 10 or 11 > Settings > System > About > Advanced System Settings > Startup & Recovery: Settings > Default OS
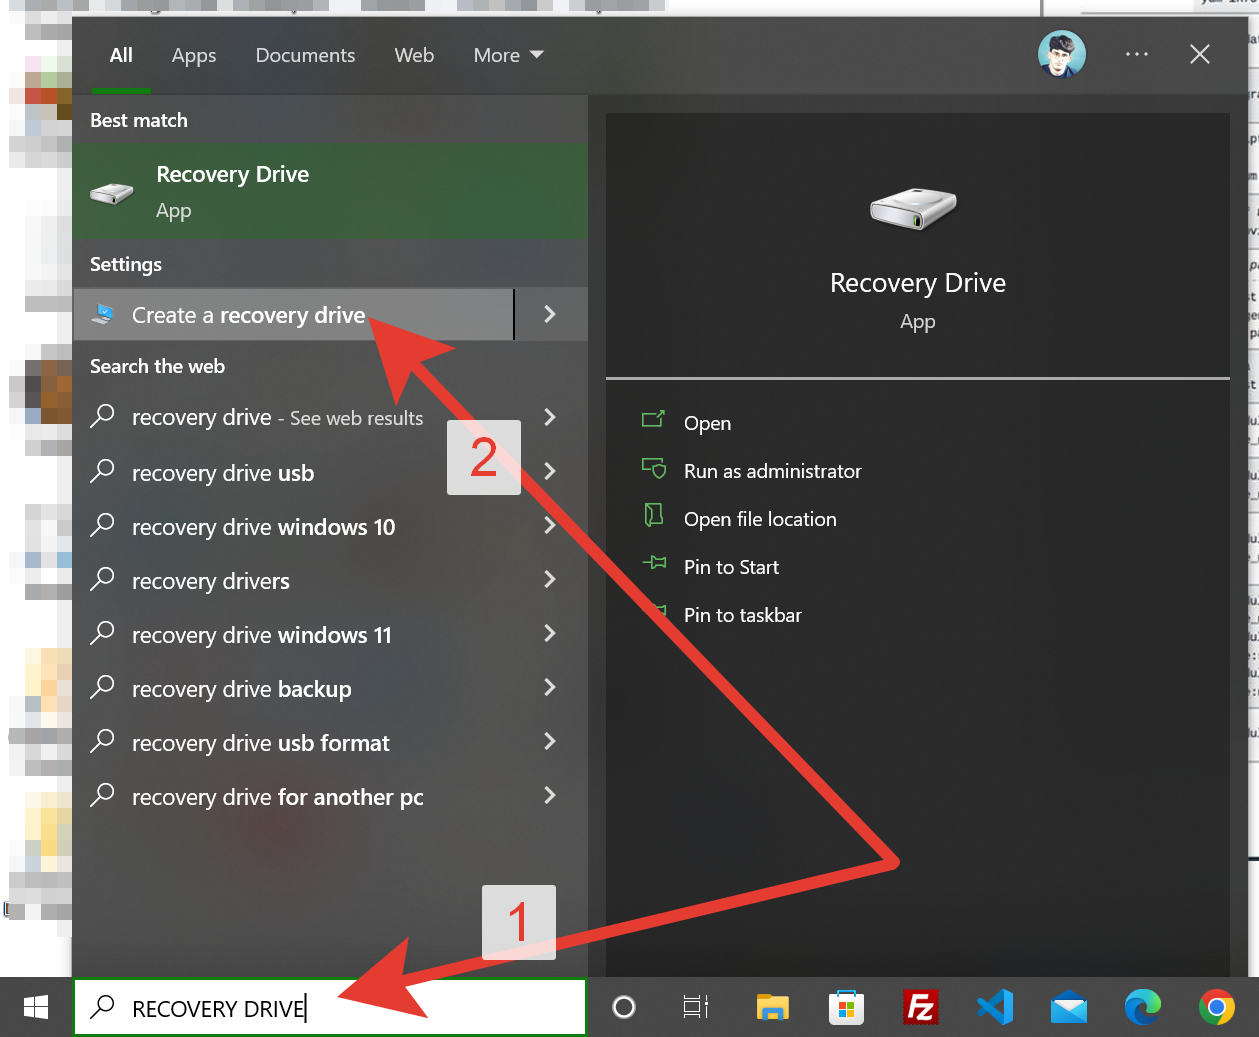
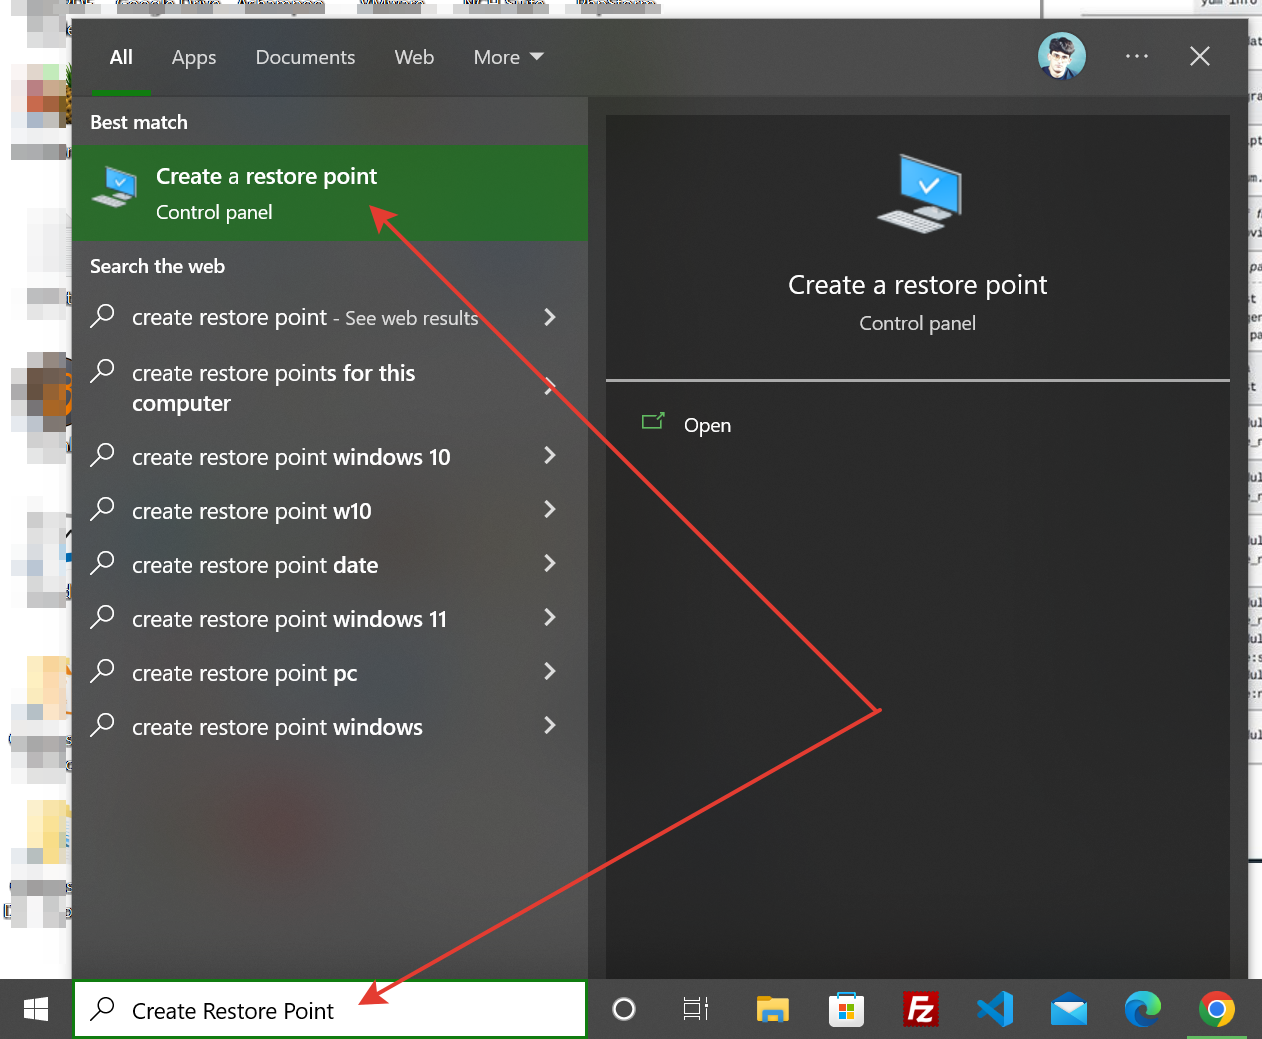
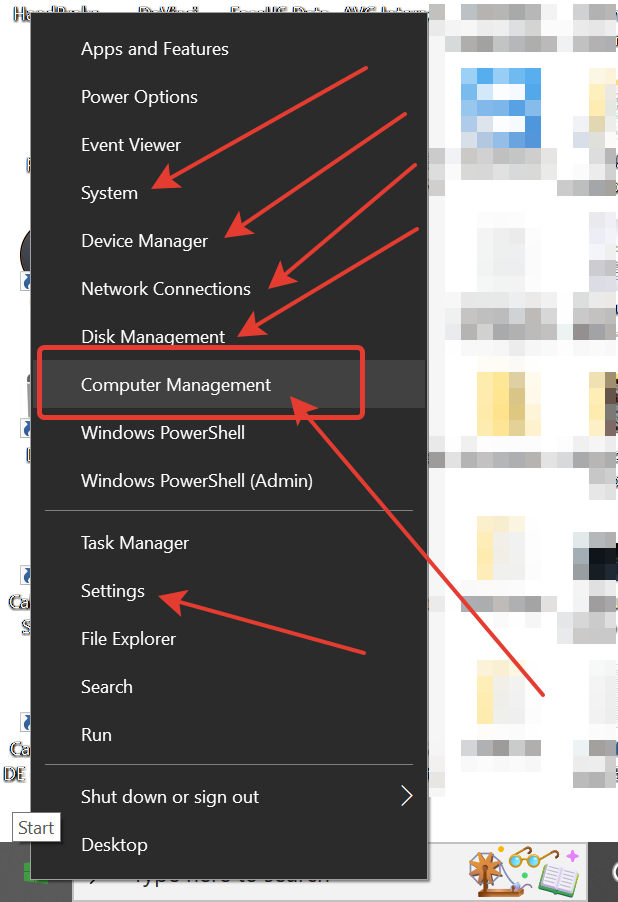
Search Windows or Cortana:
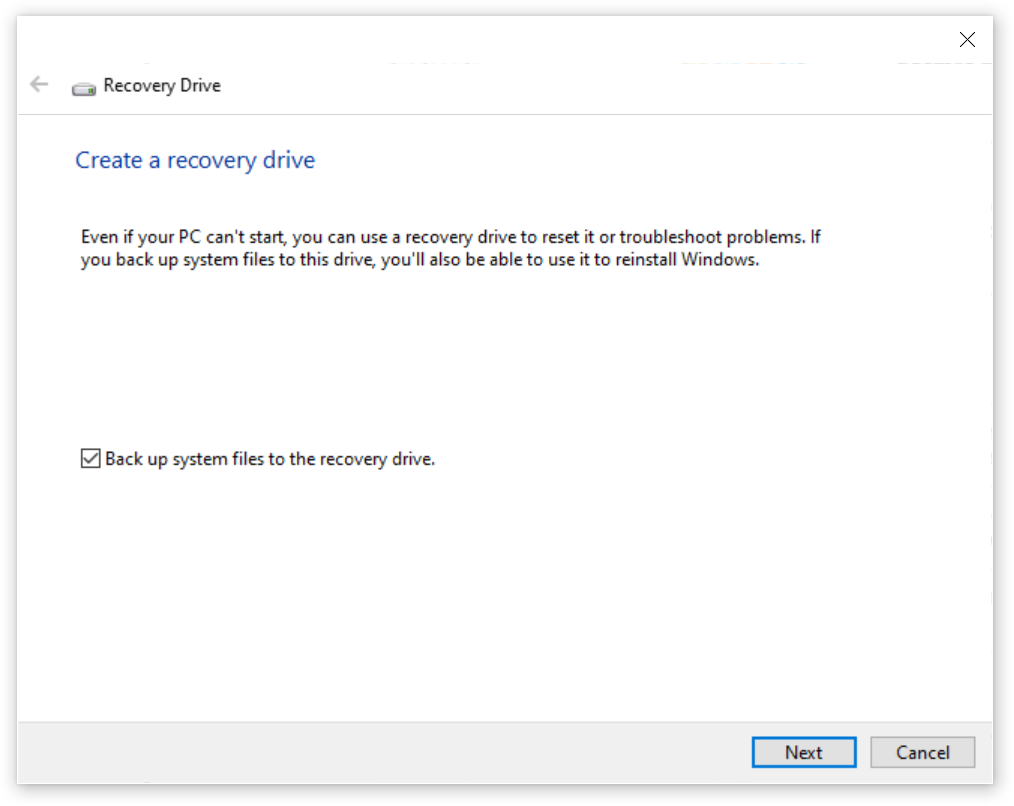
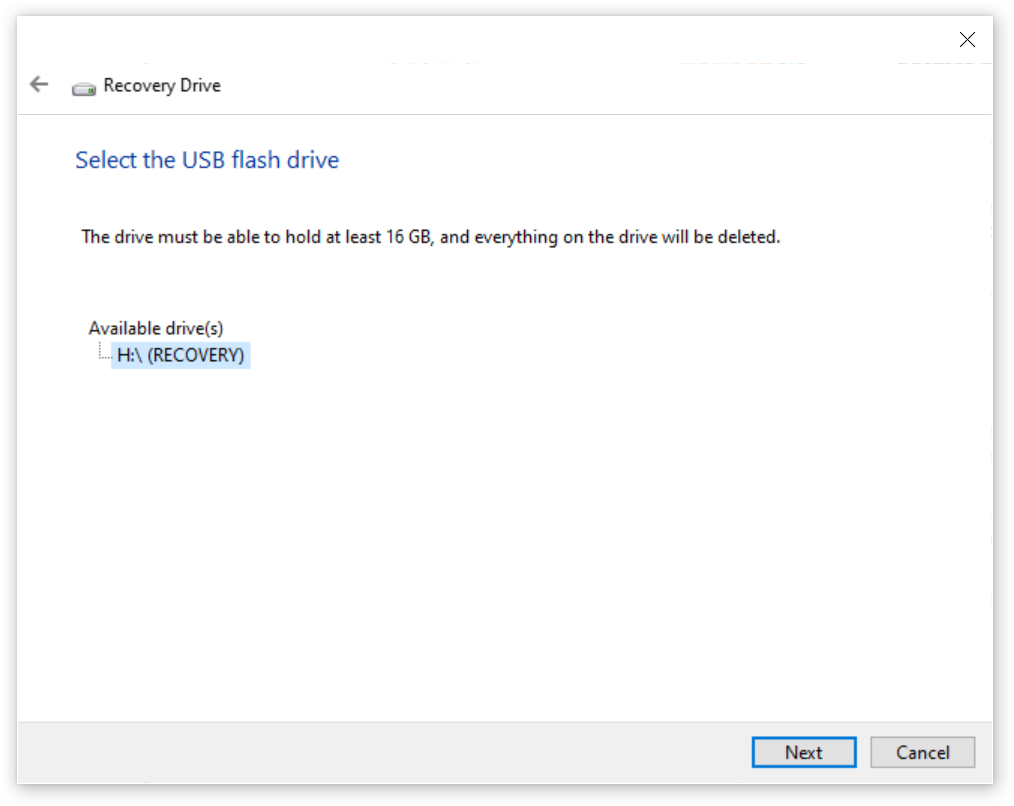
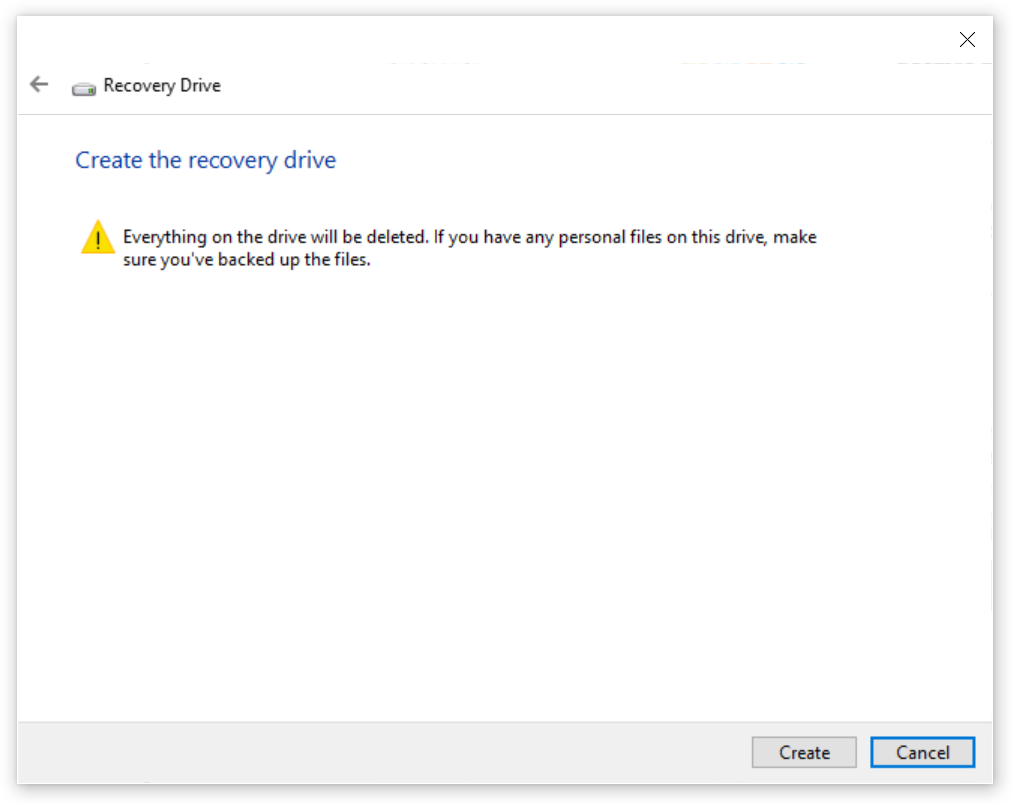
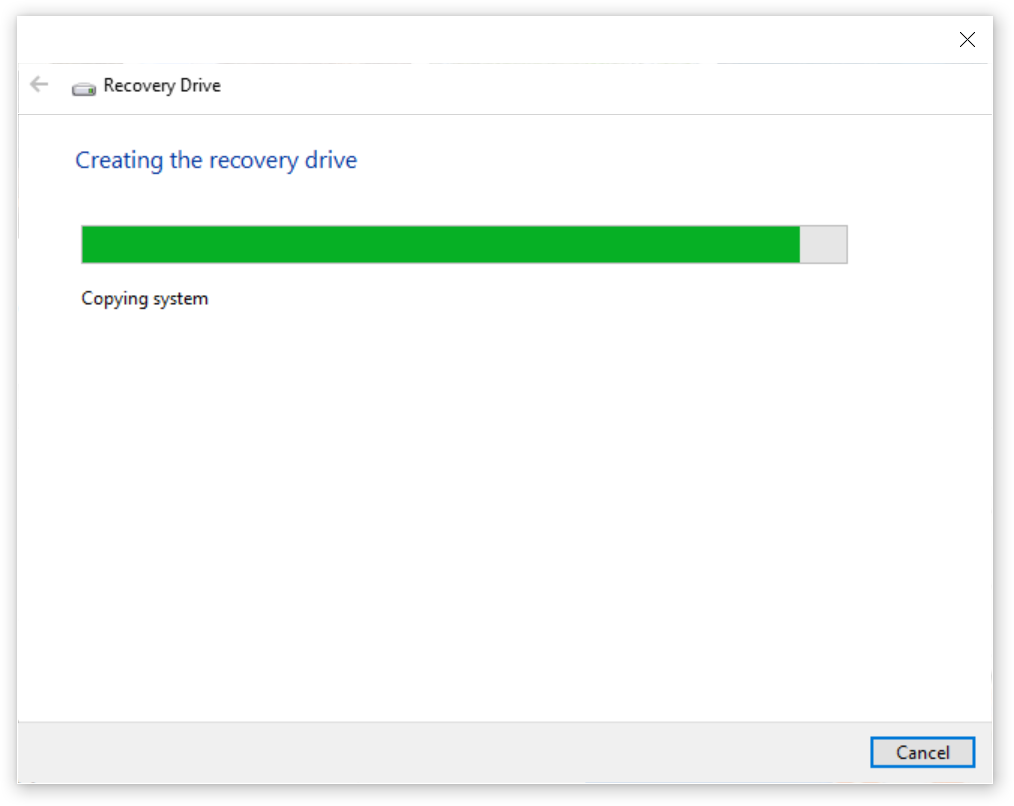
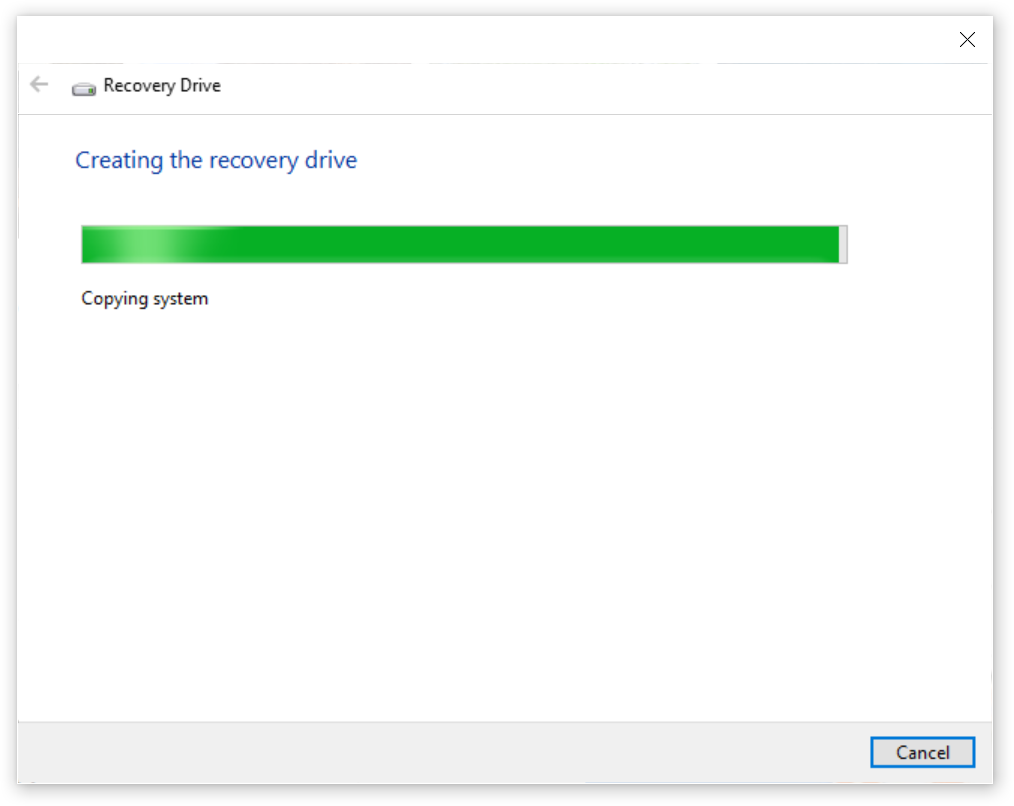
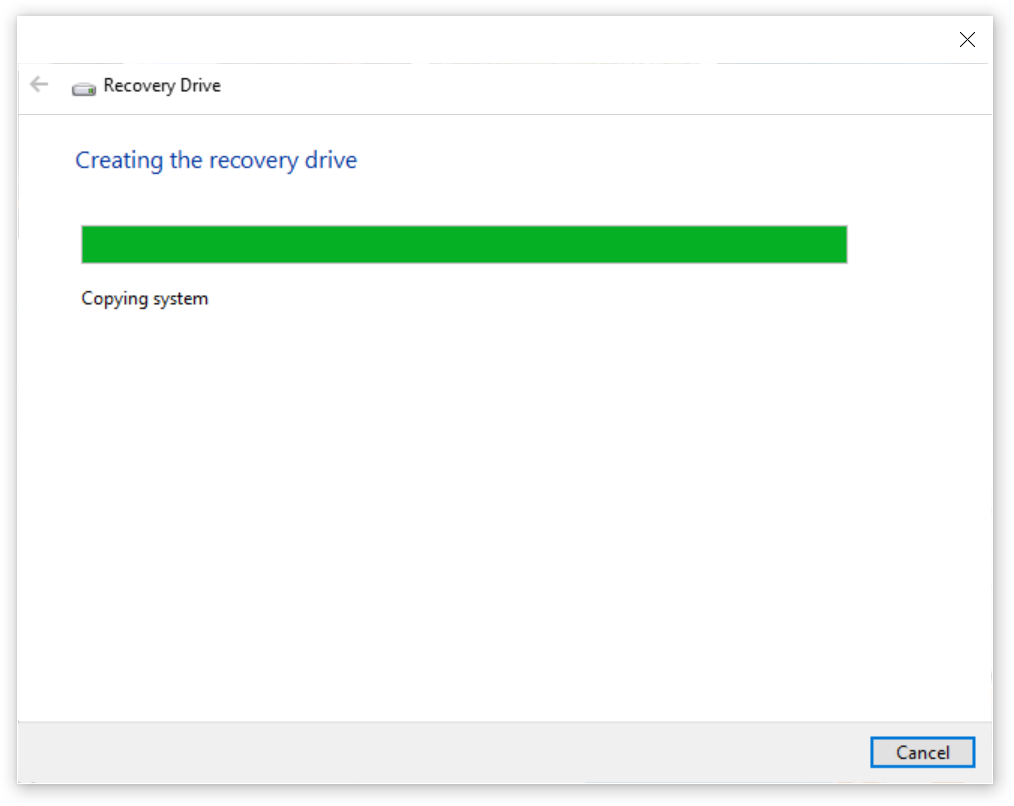
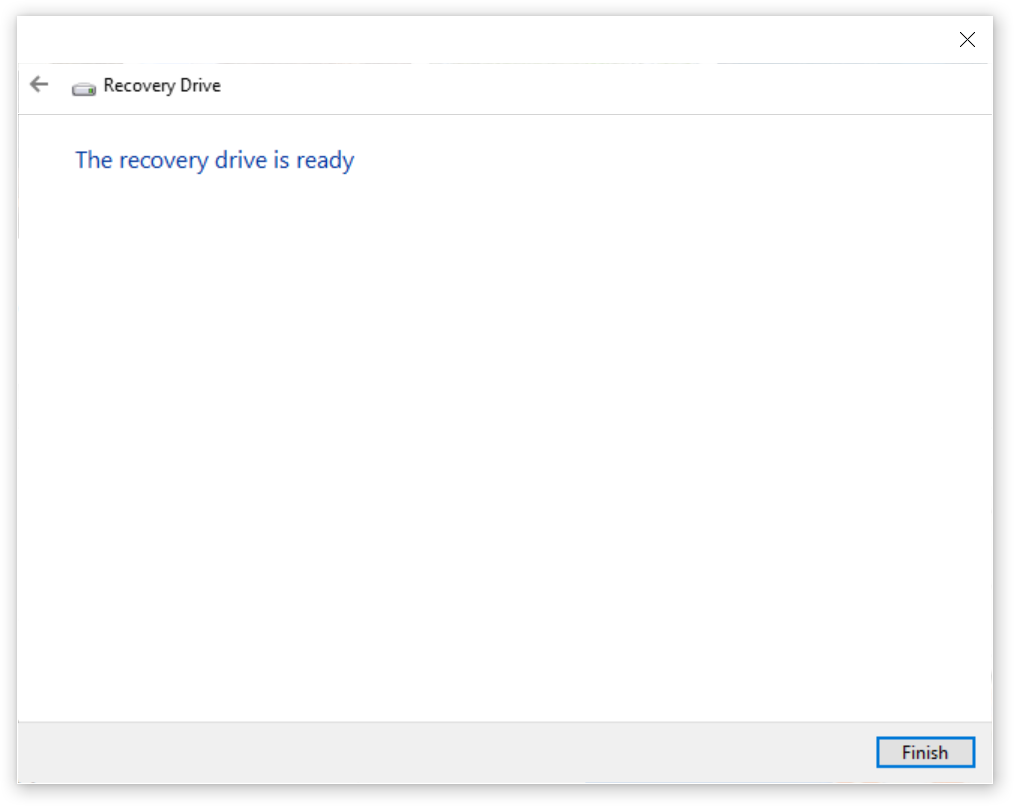
Create Recovery Drive
http://leonidassavvides.com/blog/2022/10/01/create-recovery-drive-usb3-stick-16gb-windows-10/
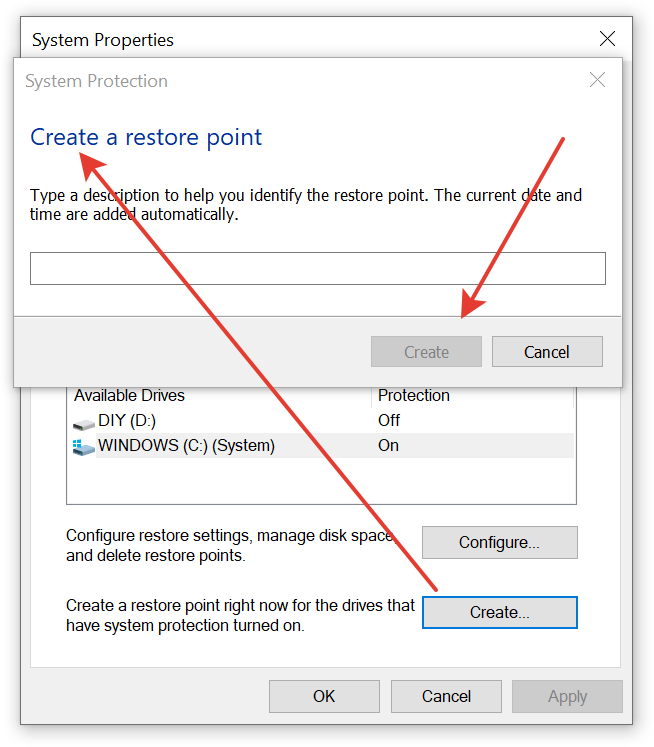
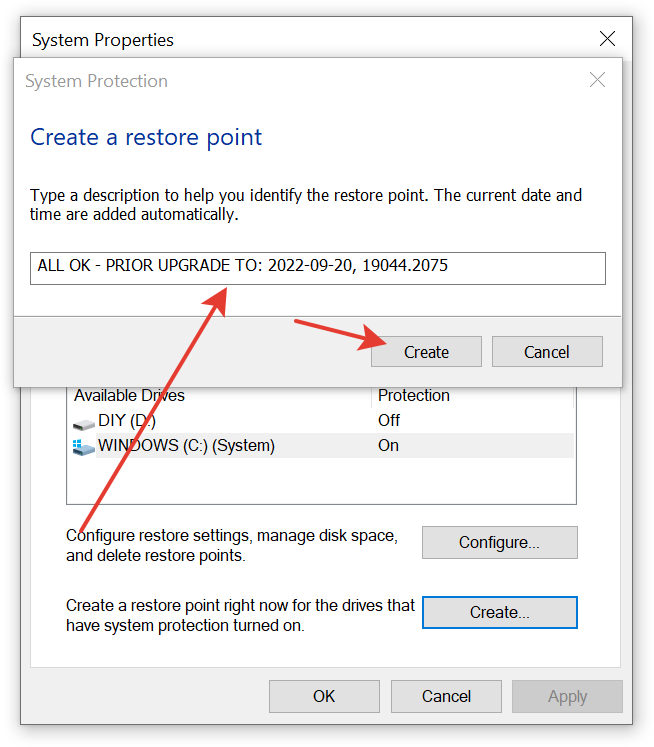
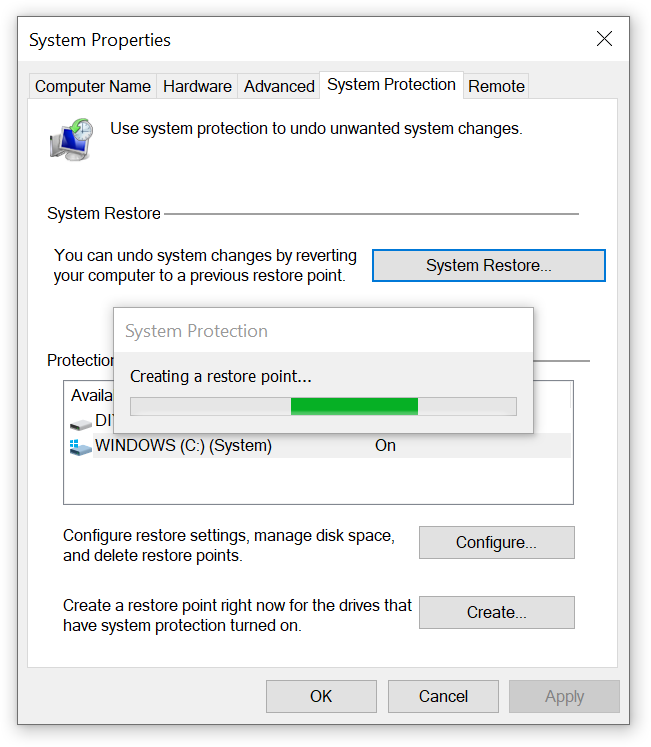
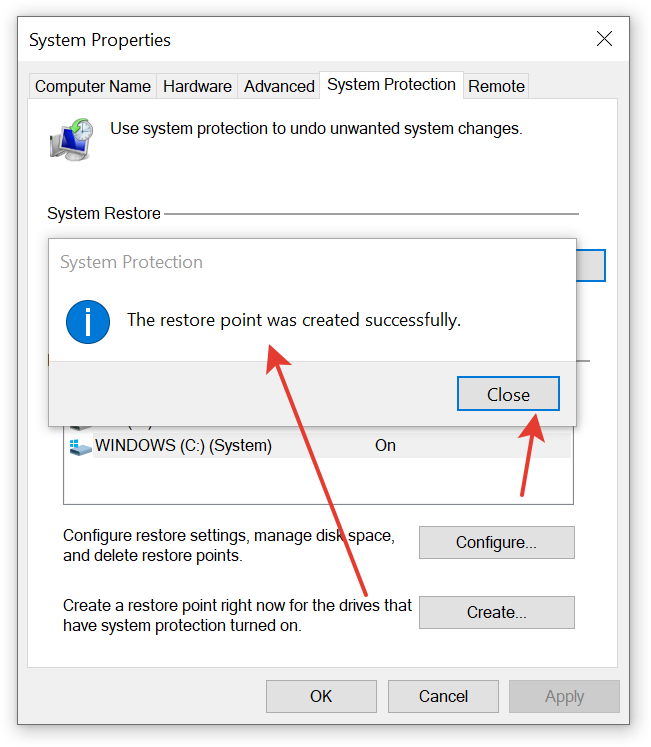
Create Restore Point
Other System Utilities – Microsoft Windows
Windows Installation Media Creator Tool
Windows ISO Downloads from Microsoft Software Download Page
https://www.microsoft.com/en-us/software-download/
https://www.microsoft.com/en-us/software-download/windows10
https://www.microsoft.com/en-us/software-download/windows11
https://learn.microsoft.com/en-us/windows/release-health/release-information
https://learn.microsoft.com/en-us/windows/release-health/windows11-release-information
Third-Party Tools
CPU-Z
https://www.cpuid.com/softwares/cpu-z.html